Why Floating Shelves Fail (And How to Fix It)
Wall-mounted shelves look clean. They're practical. But they're also one of the easiest things to install wrong. You mount them too far apart, pick the wrong anchors, or overload them — and suddenly they're sagging or, worse, crashing down.
Here's what we've learned from years of helping people get this right. We're not talking theory. We're talking about what actually holds weight, looks good, and doesn't embarrass you six months later.

The Foundation: Weight and Anchors
Most people install shelves and hope they hold. That's the problem right there. You need to know two things before you drill a single hole: what your shelf will carry and where your studs are.
Wall studs are your gold standard. Find them — usually spaced 16 inches apart — and you're anchoring directly into solid wood. That's 50+ pounds of support per stud. You don't need anything fancy. A basic lag bolt into a stud works for years.
Between studs? You'll need serious anchors. Toggle bolts hold 25-50 pounds. Heavy-duty expansion anchors work for 20-30 pounds. Plastic anchors in drywall? They're not a real solution for anything heavy. Don't bother.
Real talk: measure your studs first. Buy a stud finder for $15. You'll use it for more than just shelves, and it's genuinely worth it.
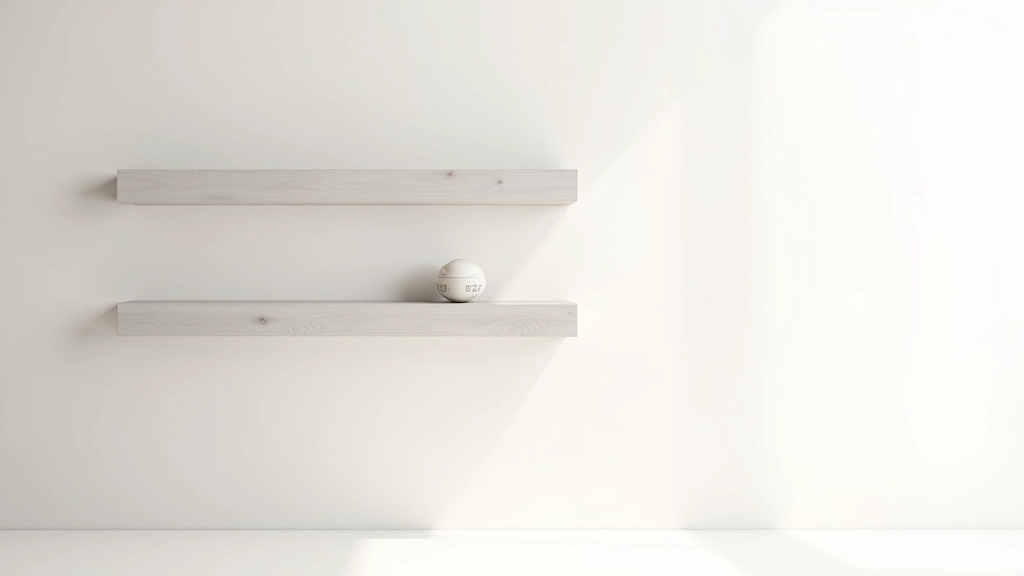
Spacing That Actually Works
How far apart should your shelves be? That depends on what you're storing, but there's a sweet spot most people miss.
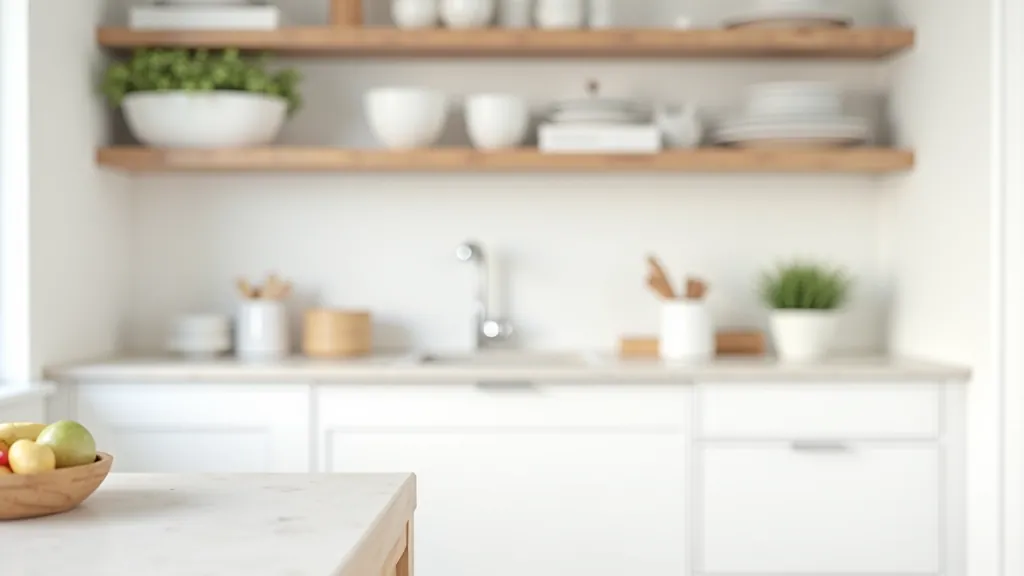
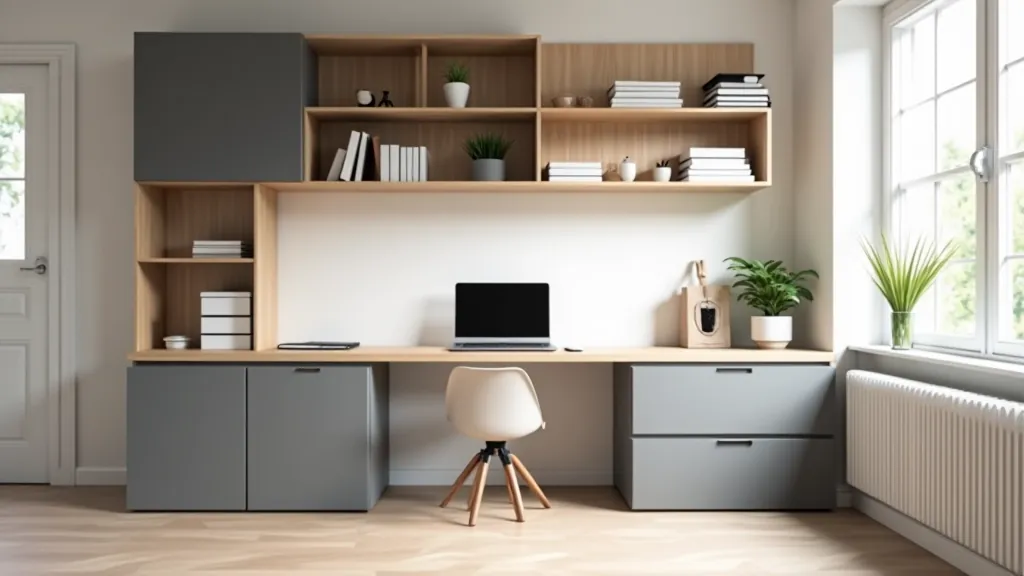
For books and general items, 10-12 inches works. For decorative objects with some height, 14-16 inches gives you breathing room. Kitchen shelves that hold plates and glasses? 12 inches is tight but doable. Any less and you're fighting with what fits.
The bigger issue: most people space them evenly across the wall and end up with awkward gaps at the top or bottom. Here's what we do instead. Start 12-18 inches from the ceiling. Then work downward. Your eye won't notice uneven spacing at the bottom nearly as much as it notices cramped space at the top.
Also, don't put shelves too low. Below waist height on a wall feels cramped and makes your room feel smaller. Start at least 36 inches from the floor for the first shelf.
Installation Safety Note
This guide is informational. Before installing shelves, especially those holding significant weight, check your local building codes and consider consulting with a professional if you're unfamiliar with wall construction. Different wall types (plaster, brick, concrete) require different anchoring approaches. Always verify the weight capacity of your hardware and don't exceed it.
Picking Materials That Last
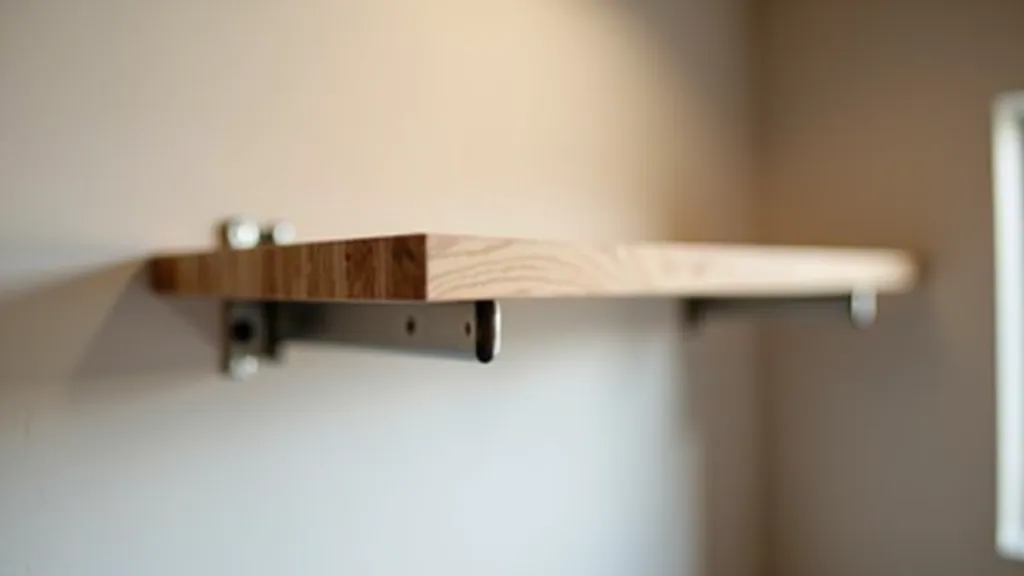
The shelf itself matters less than people think. It's really about the brackets doing the work. But you want a shelf that won't sag and looks intentional.
Solid wood is your best bet. A 1.5-inch thick piece of oak or walnut spans 24-30 inches without sagging. Go thinner and you'll see deflection over time, especially if you load it unevenly. Floating shelf kits with hollow boxes look fine empty but feel flimsy when you actually use them.
If you're doing painted shelves, quality matters. Cheap plywood warps. Good plywood with a solid paint finish holds up for years. The finish is just as important as the material. We've seen painted shelves outlast stained ones because the paint protects the wood underneath.
Length matters too. Don't go longer than 36 inches without a middle support bracket. You'll see sag. 24-30 inches is the safe zone for standard residential use.
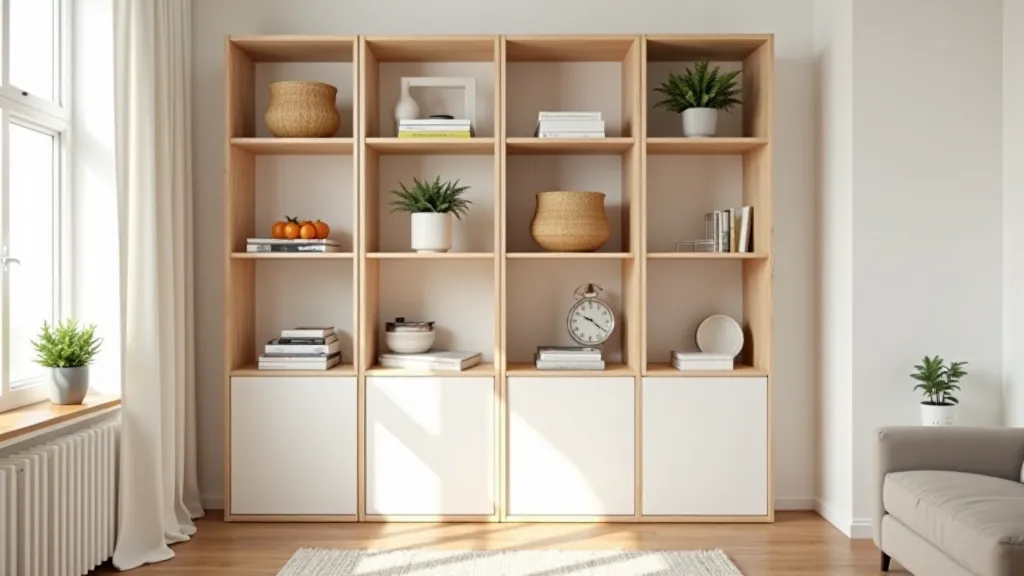
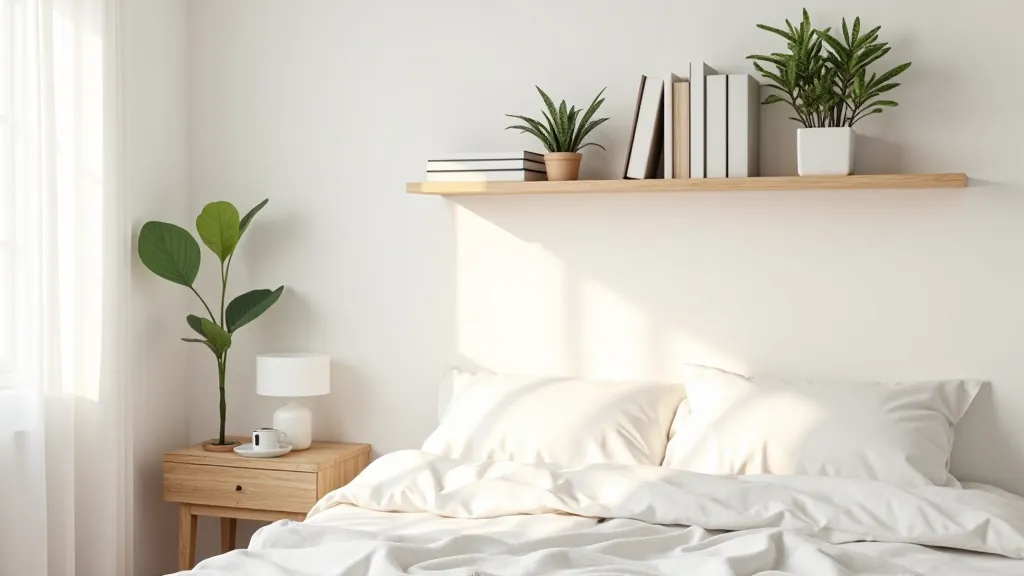
Making Shelves Look Intentional
Installation is half the battle. The other half is styling them so they don't look like random storage. There's a difference between shelves that look cluttered and shelves that look curated.
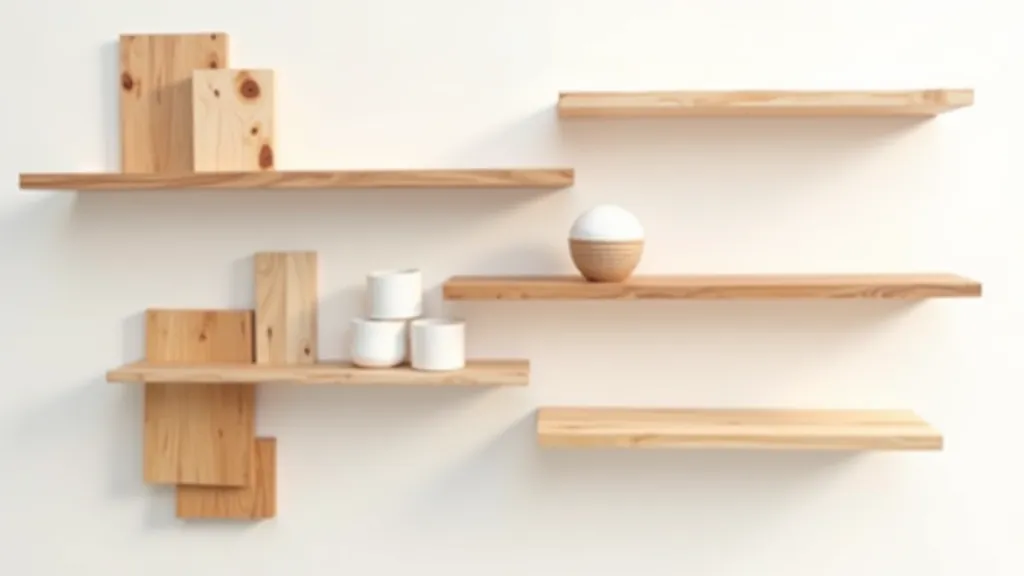
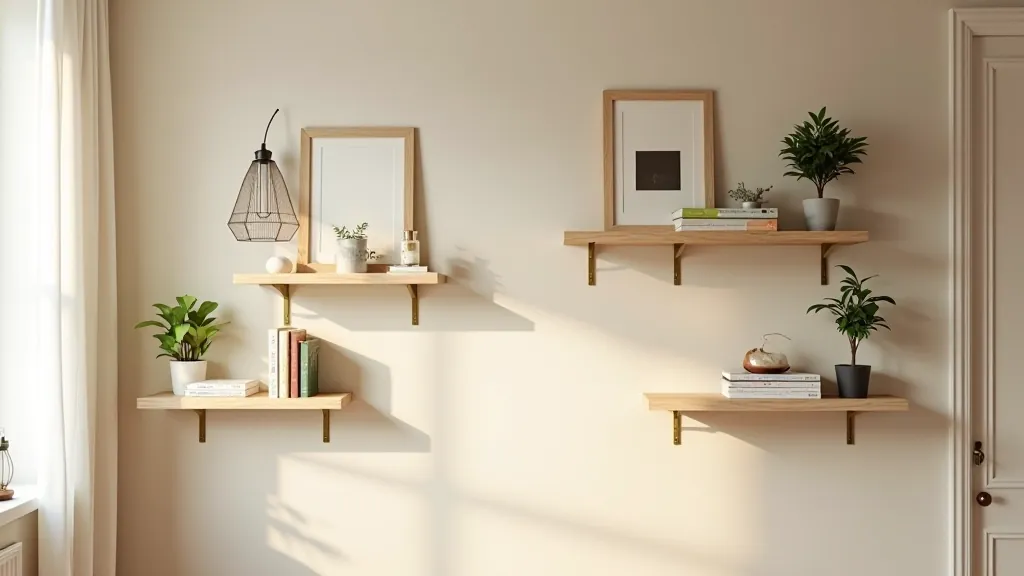
Here's the rule that actually works: use the rule of thirds. Divide each shelf into three sections. One section stays mostly empty or minimal. One section has your key items. One section has supporting pieces. It sounds fussy but it stops shelves from looking like a hoarder's collection.
Vary heights. Stack books horizontally and vertically. Stand a frame up. Lay a small object on its side. Visual variety makes even basic items look intentional. Matching everything is boring. Chaos is annoying. The middle ground is where shelves actually look good.
Color matters too. Don't put every colorful item on one shelf. Distribute them vertically across all shelves. That pulls the eye across the whole wall instead of getting stuck on one busy spot. Your shelves will feel more balanced and the room will feel calmer.
The Real Test: Does It Hold Up?
Your shelves are done. They're mounted. They're styled. Now comes the test that matters: do they actually work?
Check them after a week. Any sag? Any movement? Good shelves installed right won't shift. They'll stay flat. The styling stays intact. No creeping. No wobble. That's the difference between shelves that work and shelves that fail.
The things we've covered — anchors into studs, proper spacing, solid materials, reasonable length — they're not fancy. They're not trendy. But they're the foundation that keeps your shelves functional for years. Skip any of them and you'll be remounting shelves in six months.
Get the basics right. Mount into studs when you can. Use real anchors when you can't. Don't overload them. Style them thoughtfully. That's it. That's what actually works.